Chapter 1
1. User Guide
Welcome to AutomA, our user documentation explains how to use our software. Here are the available sections:
If you have any further questions, please contact us by e-mail here: automa.project@proton.me
Welcome to AutomA, our user documentation explains how to use our software. Here are the available sections:
If you have any further questions, please contact us by e-mail here: automa.project@proton.me
AutomA is an automated operating system hardening project, based on the rules and advice of leading cybersecurity authorities such as ANSSI. The aim of this user guide is to help you get to grips with the Web interface and configure the SSH service.
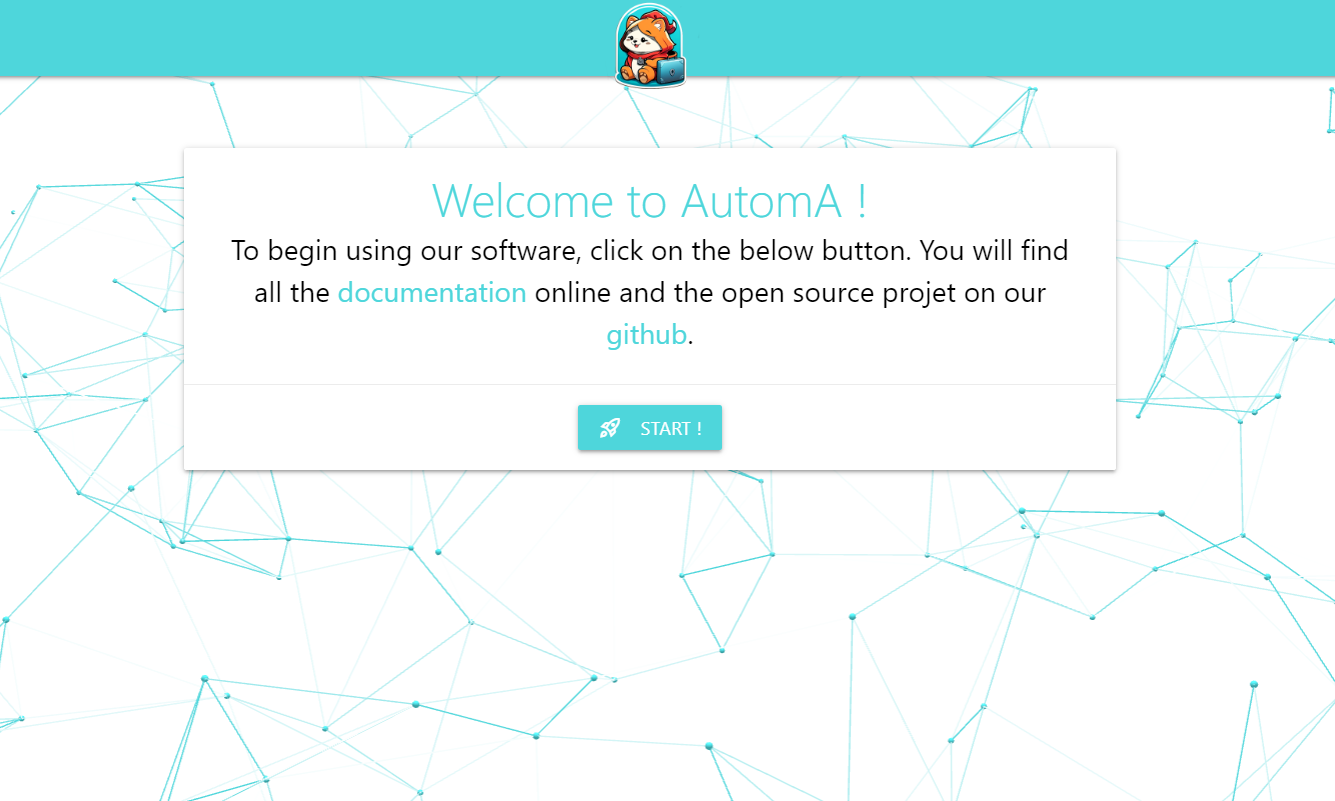
After clicking on Start on the home page, you will be asked to select the environment of the machines to be hardened.
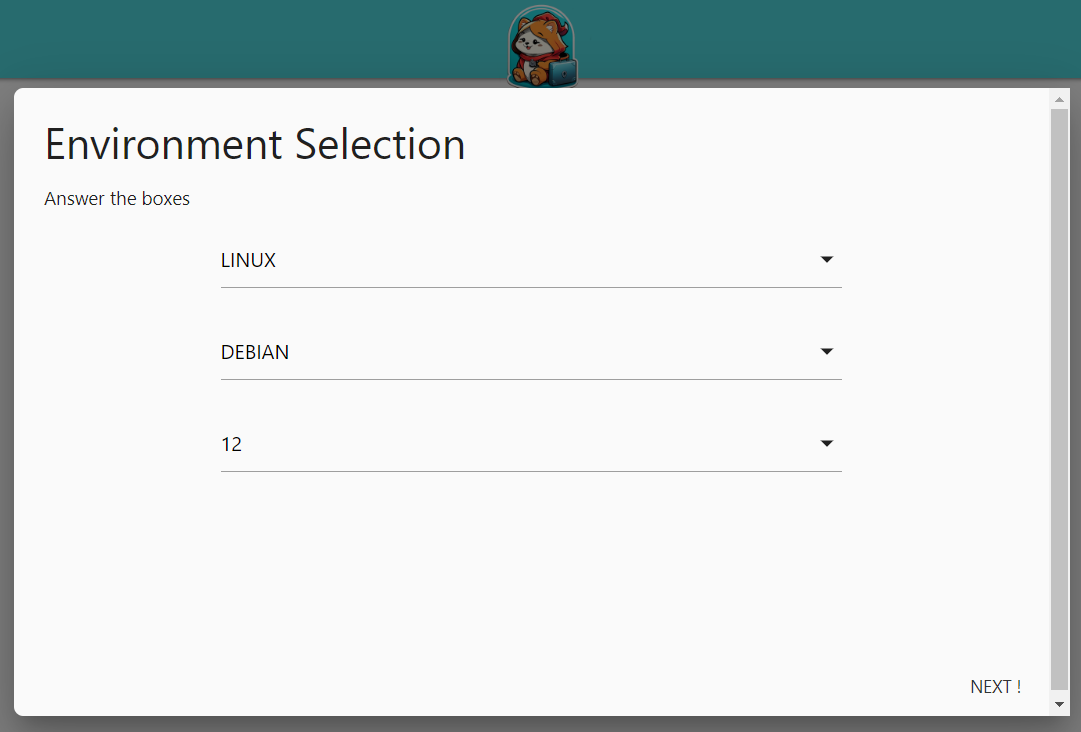
You can only harden one type of environment at a time
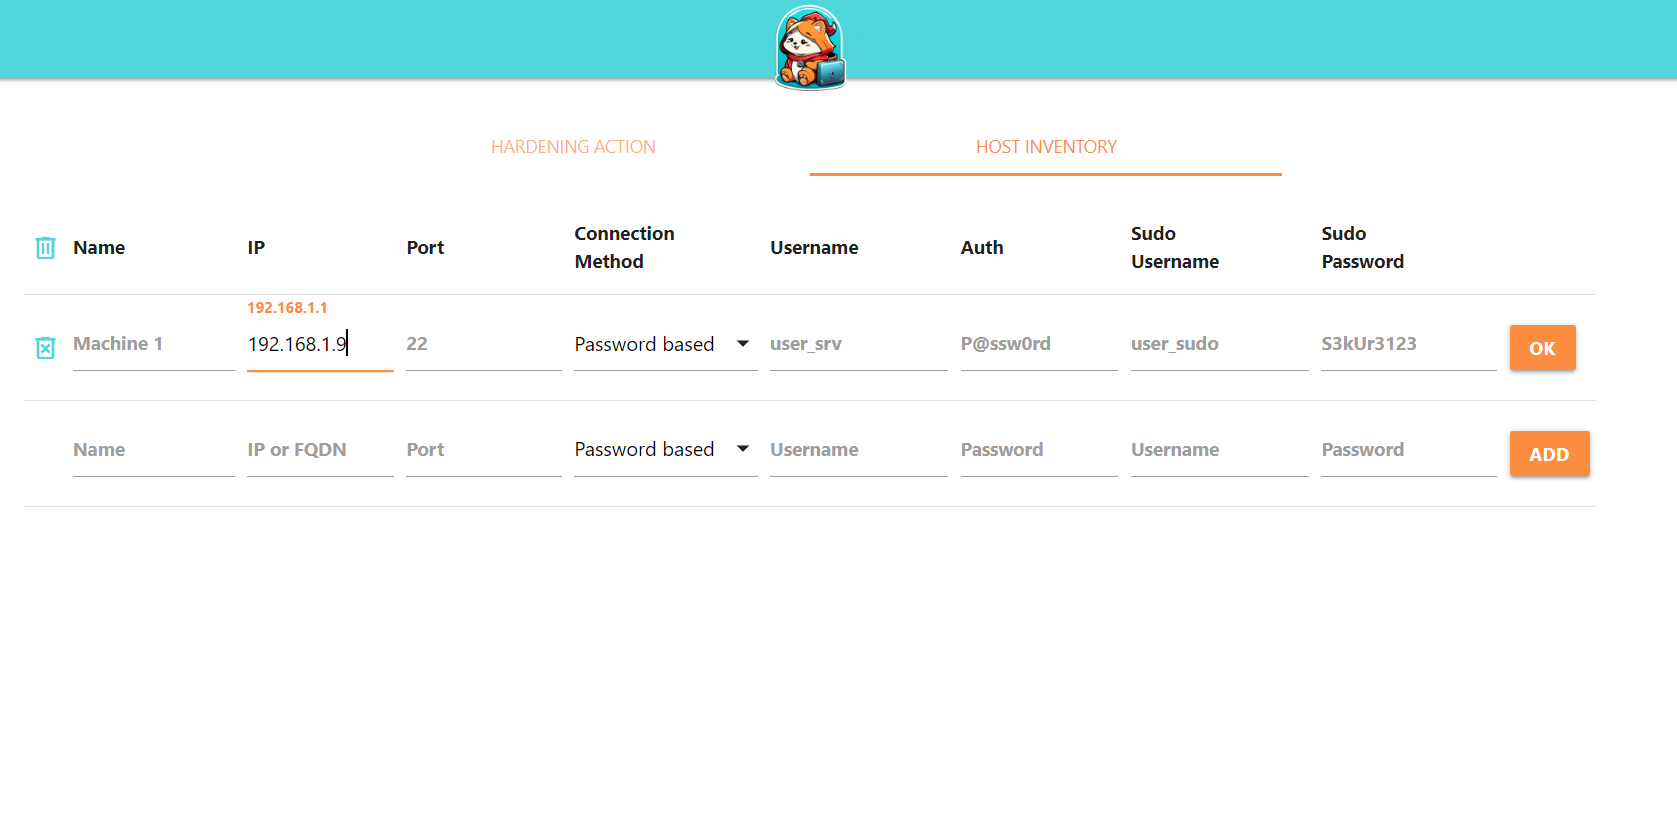
The machines to be secured must be entered in the HOST INVENTORY tab. This tab is used to define all the machines to be secured.
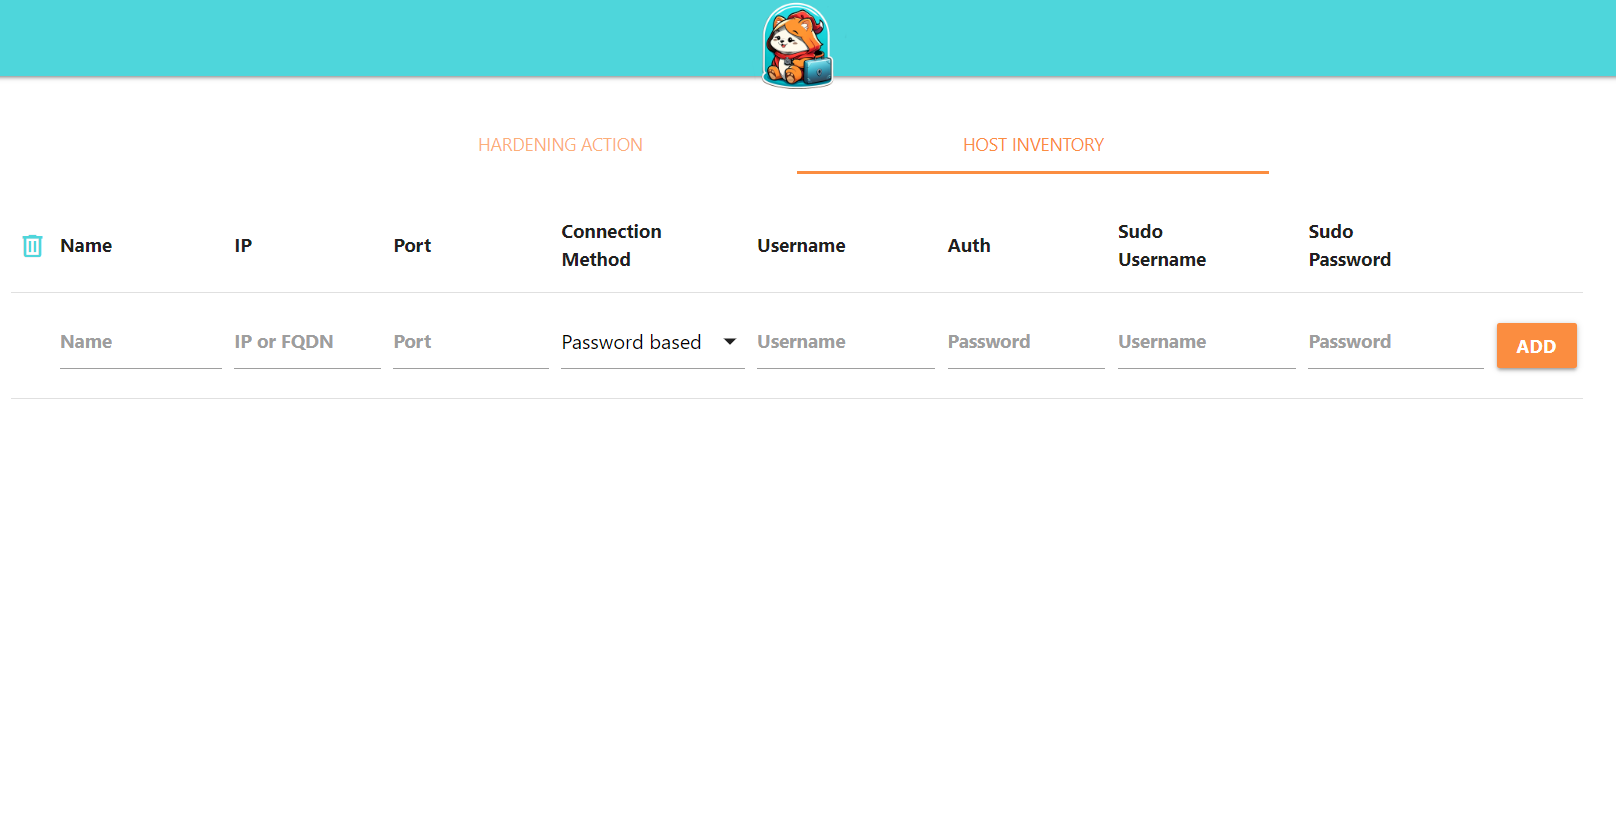
You must enter the following information:
Here is an example configuration:
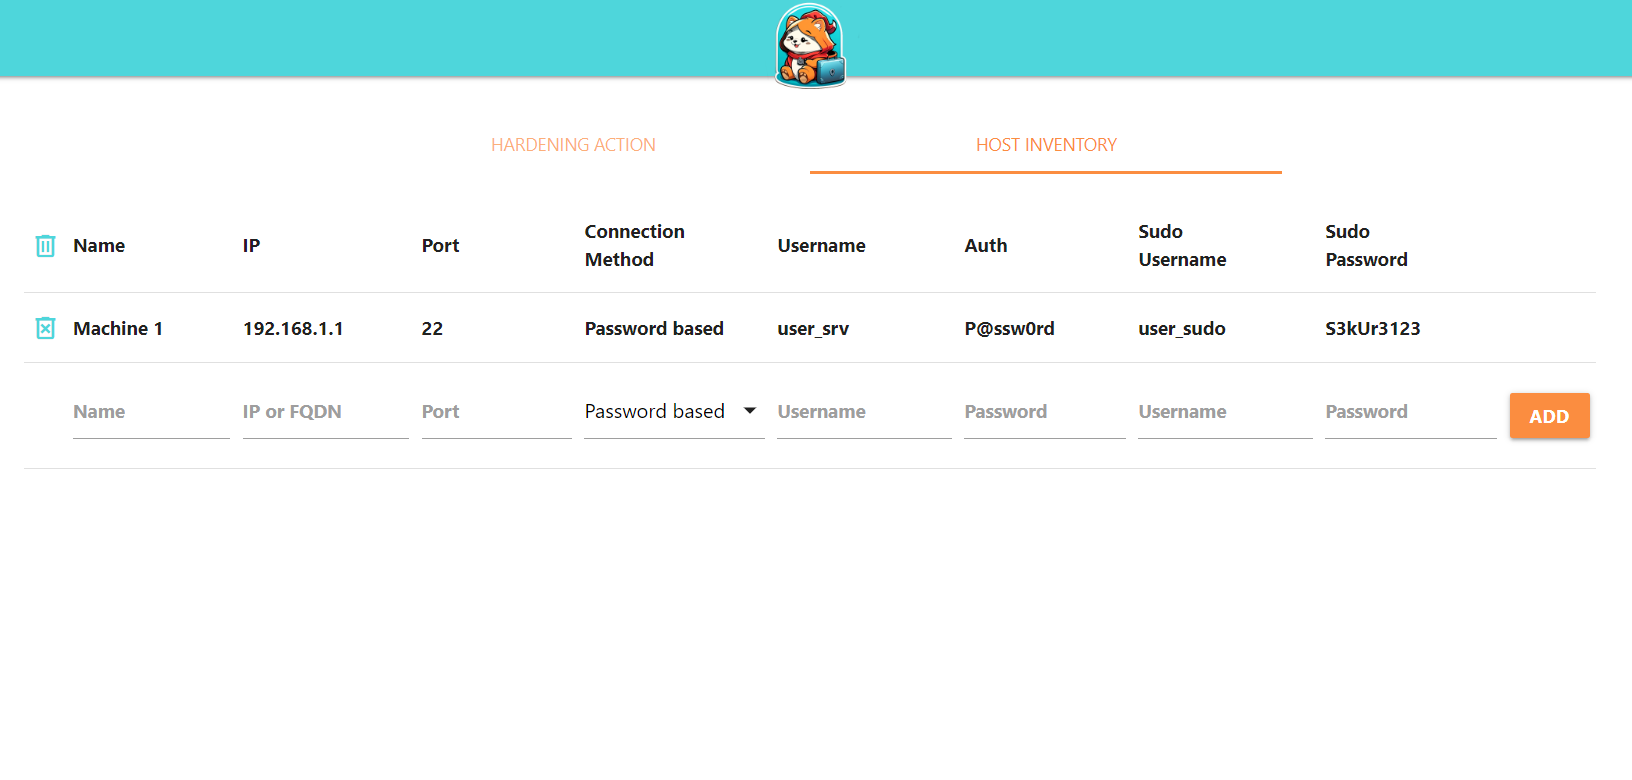
You can also modify every fields by clicking on it :
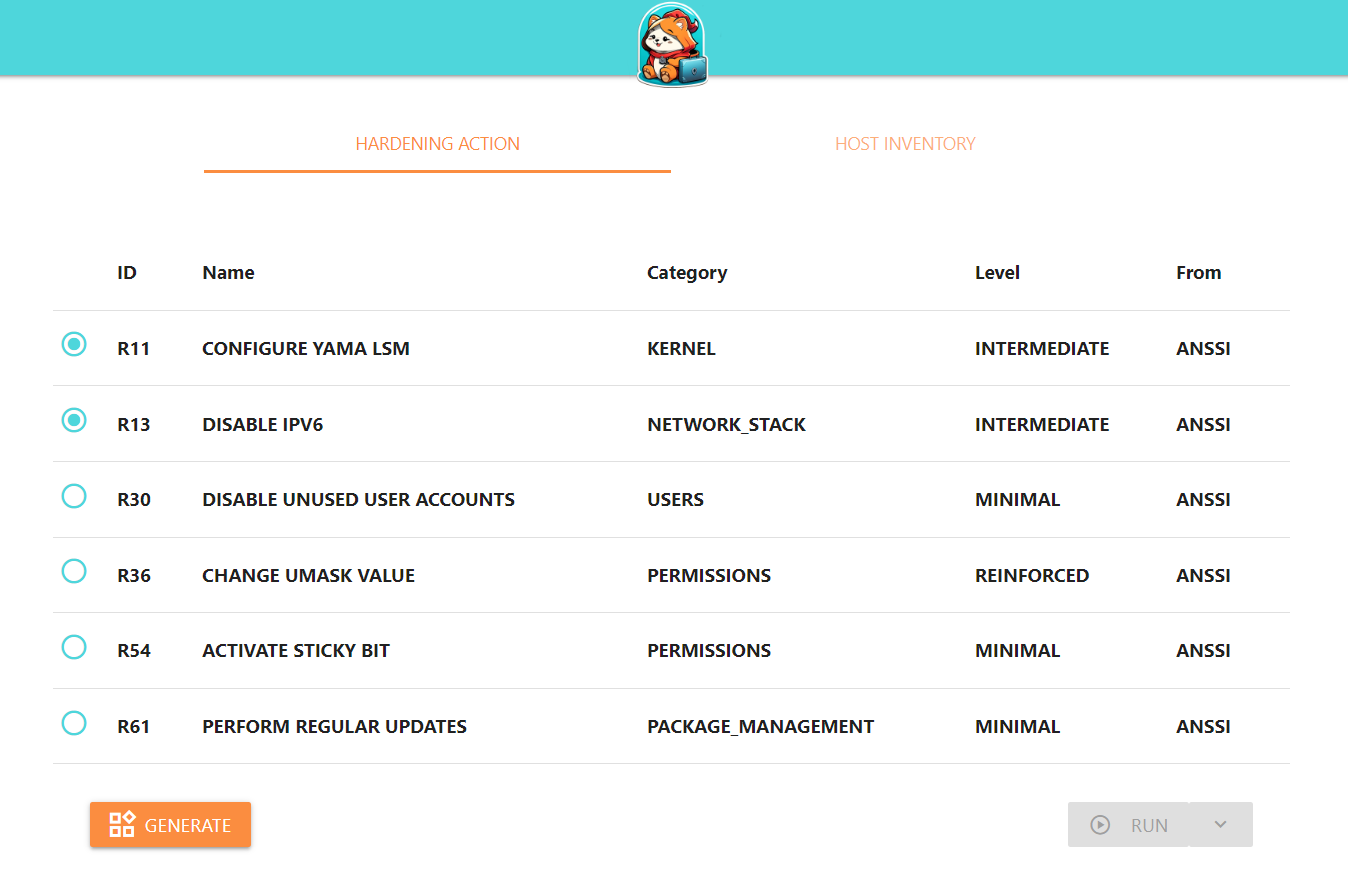
In the HARDENING ACTION tab, a list of hardening actions is available. These rules are classified according to :
You can select a rule by clicking on it and validating:
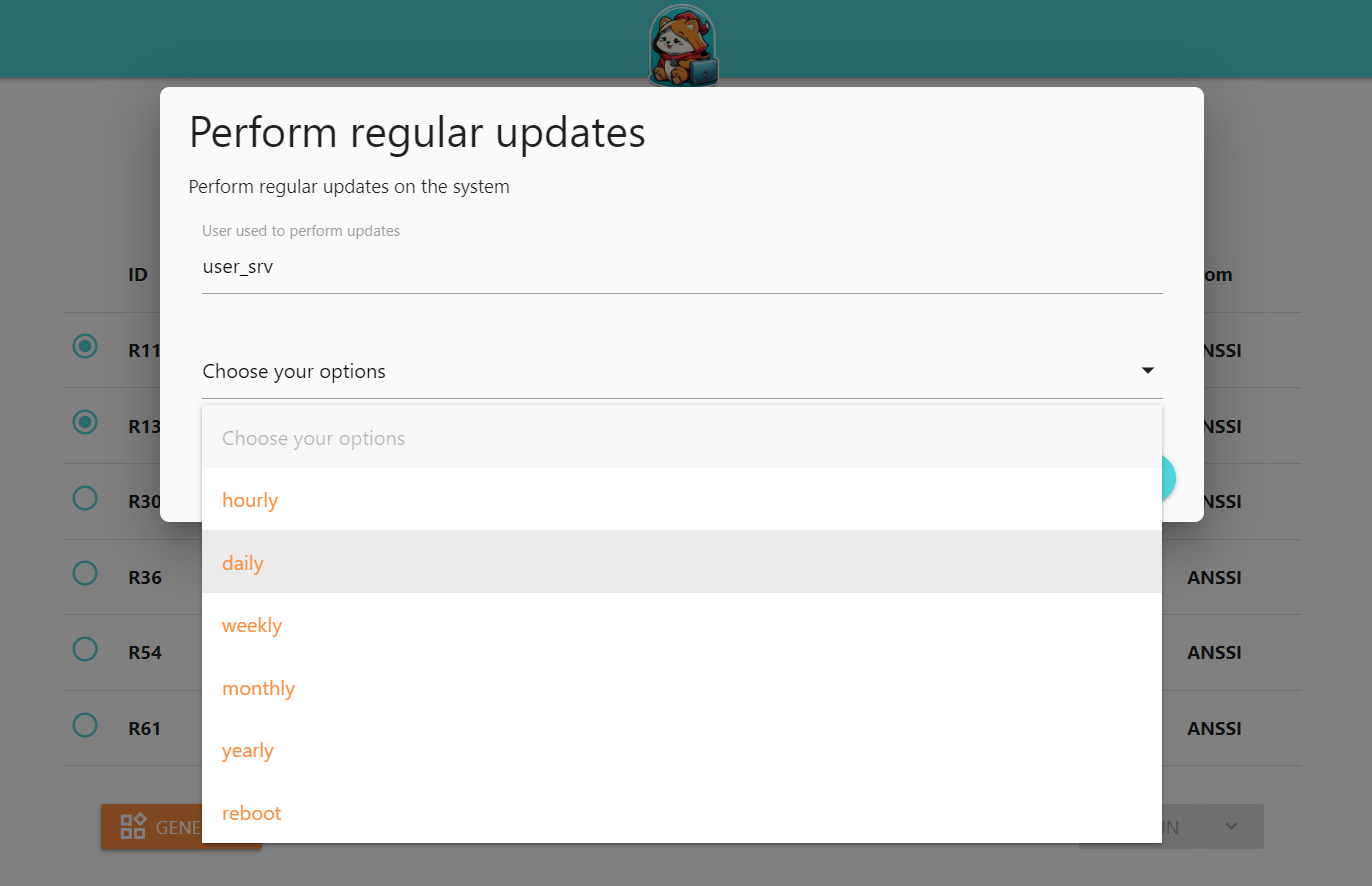
Some rules require additional information from the user to define the appropriate behavior.
For example, this rule enables automatic updates at a frequency that the user can select. A drop-down menu appears with a list of possible choices:
Here, we have selected monthly:
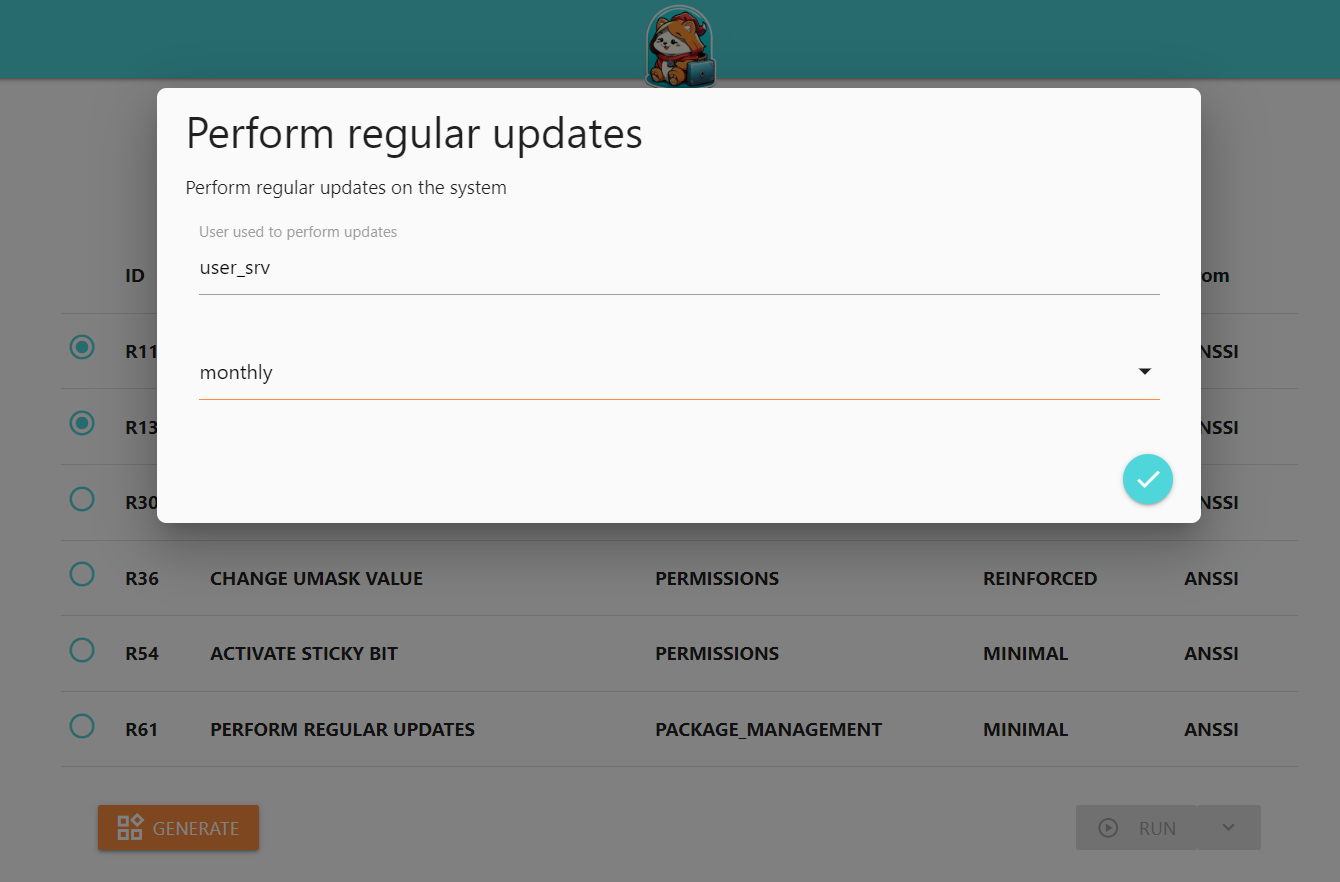
Once the configuration is complete, the user must generate his configuration by clicking on the GENERATE button.
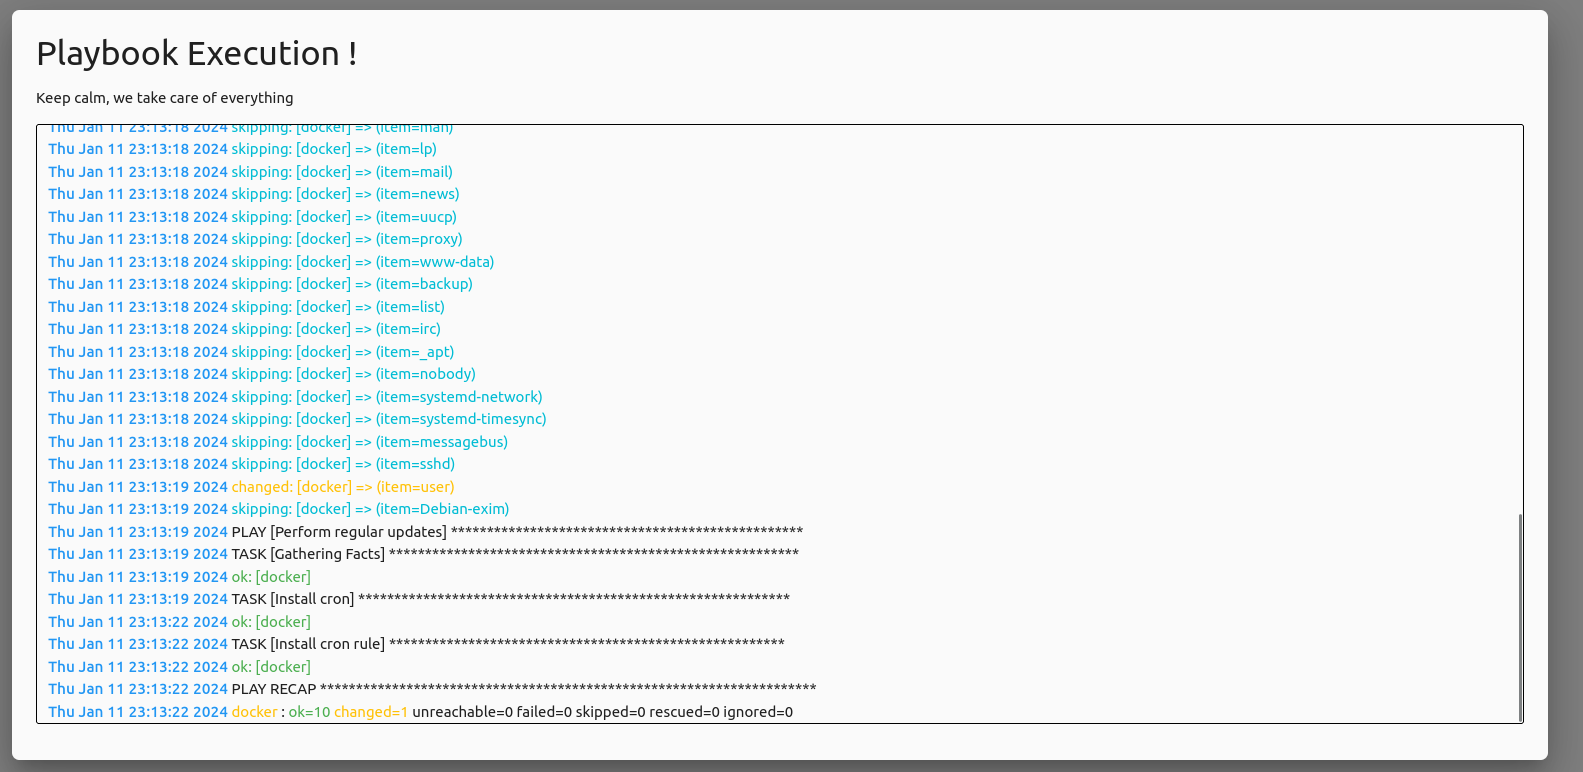
Then press the RUN button to launch the rules on the configured machines. Alternatively, click on the arrow to display the DOWNLOAD button, enabling you to retrieve all files for manual launch.
This allows us to observe the execution of playbooks and actions by generating logs directly on the interface :
We use Ansible to propagate hardening actions, so we need to open an ssh port for Ansible to perform the necessary actions. On this page, you’ll find the information you need to set up an SSH server on a Debian 12 Linux machine.
The following command is used to check the status of the OpenSSH service:
sudo systemctl status ssh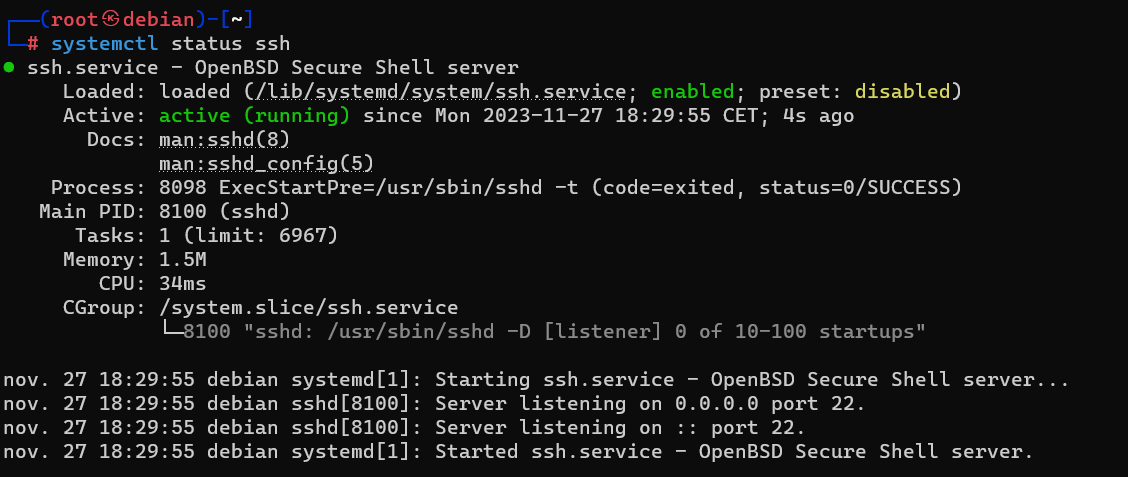
If the service is disabled, use the following command to start it:
sudo systemctl start sshOn most Linux systems, the SSH service starts at boot time. If this isn’t the case and you’d like this behavior, use the following command to enable it at machine startup:
sudo systemctl enable sshThe /etc/ssh/sshd_config file is used to configure the SSH daemon. By default, the service runs on port TCP/22.
It is recommended to :
# OpenSSH config file
Port 50122 # Set the port you want
ListenAddress 0.0.0.0 # Listen on IPv4

# To disable IPv6, you need to comment the following line
#ListenAddress ::

PubkeyAuthentification yes
PermitRootLogin no
PasswordAuthentification no
PermitEmptyPassowrd no

X11Forwarding noTo generate a key pair, SSH includes the following command:
ssh-keygen -t ecdsa -b 521 -f /home/user1/.ssh/id_ecdsa_debian12We strongly recommend protecting your private key with a password!
This generates two files, id_ecdsa_debian12 which contains the private key, and id_ecdsa_debian12.pub which contains the public key. Both files are stored in the ~/.ssh folder.
The machine’s private key is required to use key authentication in AutomA. Please generate the keys on the machine hosting AutomA and add the corresponding public key to the machine’s ~/.ssh/authorized_keys file.
There are several ways of putting your public key on the remote machine:
You can use the ssh-copy binary as follows:
ssh-copy-id -i ~/.ssh/<your_key>.pub <username>@<ip_address> -p <port>This technique only works if the SSH server accepts a connection using password.
You can copy your public key to a usb key that you have mastered. Then, on the destination machine, create the ~/.ssh folder and the ~/.ssh/authorized_keys file into which you copy the contents of the public key from your USB key.
The right permissions must be applied:
chmod 700 /home/user/.ssh
chmod 600 /home/user/.ssh/authorized_keys
chown -R user:user /home/user/.sshIn this chapter, you’ll find information on the reference systems currently in use, as well as their current status for each environment.
last update : December 8, 2023
%%{
    init: {
        "theme": "base",
        "themeVariables": {
            "pie1": "#b6d7a8",
            "pie2": "#e06666",
            "pie3": "#ffe599"
        }
    }
}%%
pie title Applicability rate in AutomA
    "YES" : 49
    "NO" : 11
    "?" : 20
Below is a list of non-applicable rules:
| Number | Level | Name |
|---|---|---|
| R1 | Reinforced | Choosing and configuring your equipment |
| R2 | Intermediate | Configure BIOS/UEFI |
| R3 | Intermediate | Enable UEFI secure boot |
| R4 | High | Replace preloaded keys |
| R28 | Intermediate | Standard partitioning |
| R64 | Reinforced | Configuring service privileges |
| R65 | Reinforced | Partitioning services |
| R66 | High | Hardening of partitioning components |
| R76 | High | Sealing and verifying file integrity |
| R77 | High | Protecting the seal database |
| R78 | Reinforced | Enclosing network services |
%%{
    init: {
        "theme": "base",
        "themeVariables": {
            "pie1": "#674ea7",
            "pie2": "#ff00ff",
            "pie3": "#d9d9d9"
        }
    }
}%%
pie title Testing platform distribution
    "Docker" : 6
    "VM" : 2
"?" : 61%%{
init: {
"theme": "base",
"themeVariables": {
"pie1": "#4285f4",
"pie2": "#ffff00",
"pie3": "#00ff00"
}
}
}%%
pie title Repository coverage rate
"TODO" : 60
"IN PROGRESS" : 1
"DONE" : 8You will find all the files containing the data presented.